
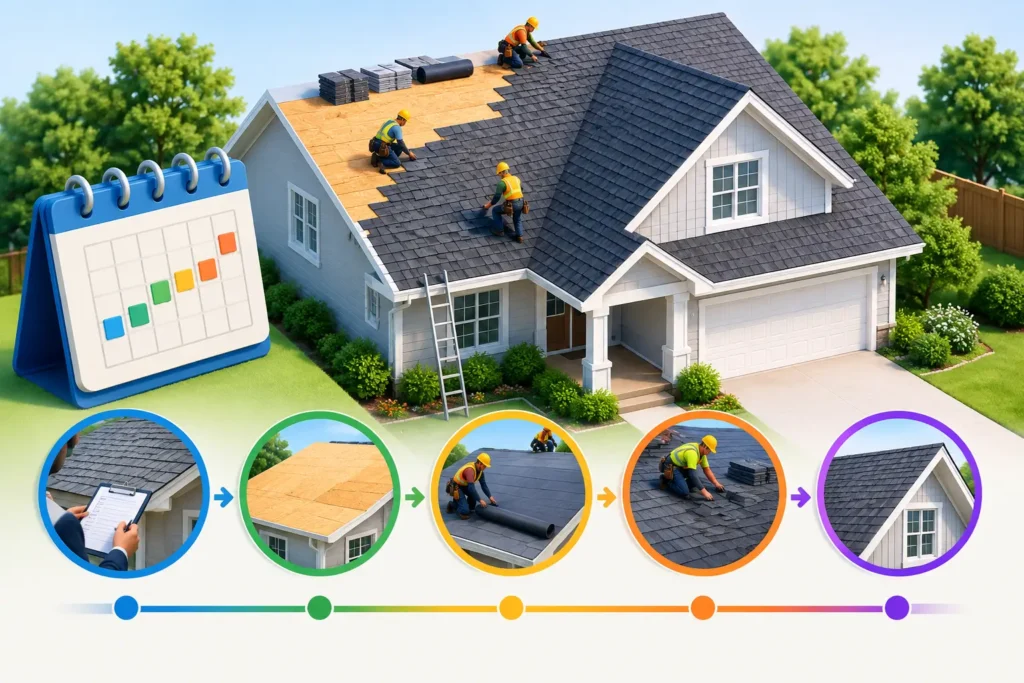
A roof replacement rarely starts when the first shingle comes off. For Florida families, the roof replacement timeline for homeowners often begins with a leak after a hard rain, missing shingles after a wind event, or an insurance notice that raises urgent questions. Knowing what happens next gives you a clearer path forward and helps prevent a stressful project from becoming a drawn-out one.
Most residential roof replacements in Palm Bay and across Florida’s East Coast take one to three days once installation begins. The full process, from inspection to final paperwork, can take several weeks. Weather, permitting, material availability, roof complexity, and insurance involvement all affect the schedule. A reliable contractor will explain those variables upfront. No surprises. No disappearing act.
The Roof Replacement Timeline for Homeowners, Step by Step
1. Inspection and project planning: one to seven days
The first step is a thorough roof inspection. A qualified roofer checks the roofing surface, flashing, ventilation, penetrations, decking condition, drainage, and signs of storm damage. In Florida, that also means looking closely at wind-related damage, water intrusion, and components affected by salt air and intense UV exposure.
After the inspection, you should receive a clear scope of work. It should identify the roofing system, underlayment, flashing details, ventilation approach, tear-off or overlay plan, and any likely wood replacement. This is also the time to discuss colors, materials, budget, financing, and the expected work window.
Material selection can affect timing. Architectural shingles are commonly available and move quickly. Tile, standing-seam metal, specialty colors, and some flat-roof systems may require additional lead time. The right choice is not always the fastest choice. A coastal home may benefit from a system selected for wind resistance, water management, and long-term performance rather than initial cost alone.
2. Insurance review, if storm damage is involved: days to several weeks
If wind or storm damage may be covered, the claim process can become the longest part of the timeline. Homeowners should document visible damage, interior leaks, and any temporary repairs before work begins. A contractor can help identify roof-related damage and provide the documentation needed to support a claim, but the insurance carrier makes the final coverage decision.
An adjuster visit, estimate review, supplemental documentation, and claim approval may add time. The process varies by carrier and policy. Some claims move promptly; others need additional information, especially when damage is subtle or the roof is older.
Do not wait for a claim decision if the roof is actively leaking. Temporary protection may be needed to limit further damage. Keep receipts and photographs, and ask your contractor what emergency measures are appropriate without compromising the claim.
3. Permits and ordering materials: typically one to three weeks
Florida roof replacement projects commonly require permits, and requirements can differ by city, county, roofing material, and property type. Permit timing depends on the local building department, the completeness of the application, and current demand after storms. A contractor experienced with local codes should manage this process and keep you informed.
Once the permit is underway or approved, materials are ordered and delivery is scheduled. This stage includes more than shingles or tile. A complete roofing system may include underlayment, starter materials, ridge components, flashing, vents, fasteners, sealants, and protection for vulnerable roof transitions.
Good scheduling accounts for Florida weather. Summer rainstorms can appear quickly, and hurricane season requires close attention to forecasts. Responsible crews do not tear off a roof when conditions create an avoidable risk to your home. A one-day schedule adjustment is frustrating, but it is far better than exposing the roof deck to heavy rain.
What Happens During Roof Installation
4. Site preparation and tear-off: usually the first day
Before work begins, the crew protects landscaping, windows, siding, pool areas, driveways, and outdoor equipment as appropriate. Contractors may ask you to move vehicles away from the driveway, secure loose patio items, and keep children and pets safely inside or off-site during active construction.
The old roofing material is then removed, unless a properly approved overlay is part of the scope. Tear-off lets the crew inspect the roof deck directly. This matters because a new roof is only as dependable as the structure beneath it.
Decking damage is one of the most common schedule variables. If crews find soft, rotted, or broken wood, it must be replaced before the new system goes on. A trustworthy contractor will document the condition, explain the repair, and communicate any added cost before moving forward whenever possible.
5. Deck repairs and system installation: one to two days
After the deck is prepared, the roofing system is installed in layers. Depending on the material, this can include a water-resistant underlayment, enhanced protection at valleys and penetrations, drip edge, flashing, ventilation components, and the finished roof covering.
For shingle roofs, a straightforward single-story home can often be completed in a day. Larger homes, steep slopes, complex valleys, multiple roof levels, skylights, chimneys, or extensive decking repairs can extend the work into a second or third day. Tile and metal roofs often take longer because the materials and installation details require different handling.
Flat and low-slope roofing systems follow their own schedule. Coatings, membranes, and substrate repairs may require dry conditions and specified cure times. Commercial properties may also need phased work to keep entrances, tenants, equipment, and daily operations protected.
The installation should never be rushed to hit a convenient date. Proper flashing and waterproofing details around walls, vents, pipes, valleys, and transitions are where craftsmanship shows. These details do not always stand out from the street, but they have a major impact on leak resistance.
6. Cleanup and inspection: same day or next day
A professional roof replacement does not end when the last cap shingle, panel, or tile is installed. The crew should remove debris, sweep accessible areas, and use magnetic tools to collect loose nails around the property. Dumpsters and material deliveries are removed according to the project plan.
The contractor then performs a final quality review. Depending on local requirements, the municipality may also complete a final inspection before the permit is closed. If corrections are requested, they should be handled promptly and documented.
Before signing off, ask for your warranty information, final invoice, permit status, care guidance, and photos of completed work if available. You should know who to contact if you have a question after the crew leaves. Bear Roofing provides a lifetime workmanship warranty because accountability should continue after installation day.
Factors That Can Change Your Schedule
No contractor can control every variable, but a disciplined process reduces delays. The most common schedule changes are weather, permit backlogs, insurance claim timing, hidden decking damage, special-order materials, and added scope discovered during tear-off.
Your home’s design matters too. A simple gable roof is faster than a roof with many valleys, dormers, elevations, solar equipment, chimneys, or difficult access. Homes in tight neighborhoods may need more careful staging for delivery trucks and debris removal. These are not reasons to worry. They are reasons to expect an accurate site-specific plan rather than a vague promise.
If you are planning ahead, start before the roof becomes an emergency. A proactive inspection gives you time to compare material options, plan financially, and schedule around travel, holidays, or hurricane season. If the roof has already failed, ask for a realistic temporary-protection plan and the earliest safe installation window.
How Homeowners Can Keep the Project Moving
Clear communication is the best way to avoid preventable delays. Review the proposal before materials are ordered, respond quickly to permit or insurance requests, and confirm the final color and system selection in writing. If your community has an HOA, check its approval process early. Some associations require color samples or architectural review before work can begin.
Prepare the property the day before installation. Move vehicles, cover or relocate delicate outdoor items, and remove wall hangings if vibration may affect them. Let neighbors know about the schedule, particularly if shared driveways or close property lines are involved. Roofing is loud, but a prepared household experiences far less disruption.
A roof replacement is a short construction project with a long-term purpose. The dates matter, but the real goal is a properly installed system built for Florida sun, rain, wind, and the next storm season. Choose a contractor that can explain the schedule plainly, protect the property while work is underway, and stand behind the work after the final inspection is complete.